Introduction
Each user is provided with a login to reach the Kerauno interface and a primary extension number. The Users menu allows administrators to build, modify, and delete user accounts and extensions.
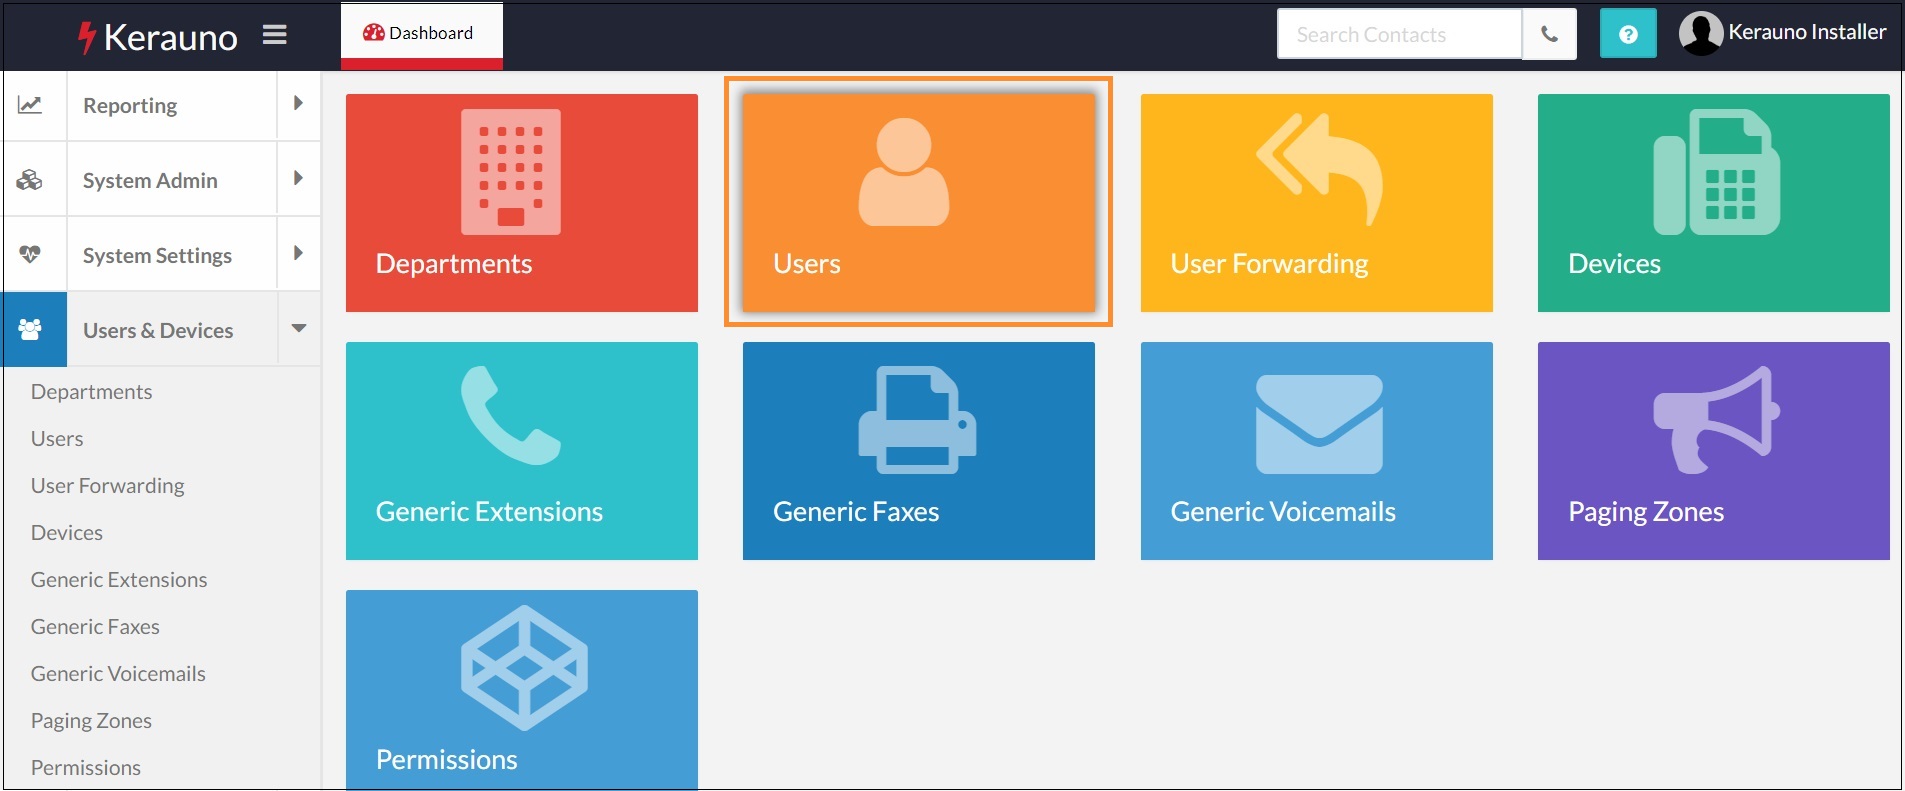
From the Kerauno homepage, click the Users & Devices drop-down, then select Users from the left-hand side of the screen.

There is also an orange Users shortcut icon in the center of the Users & Devices screen.
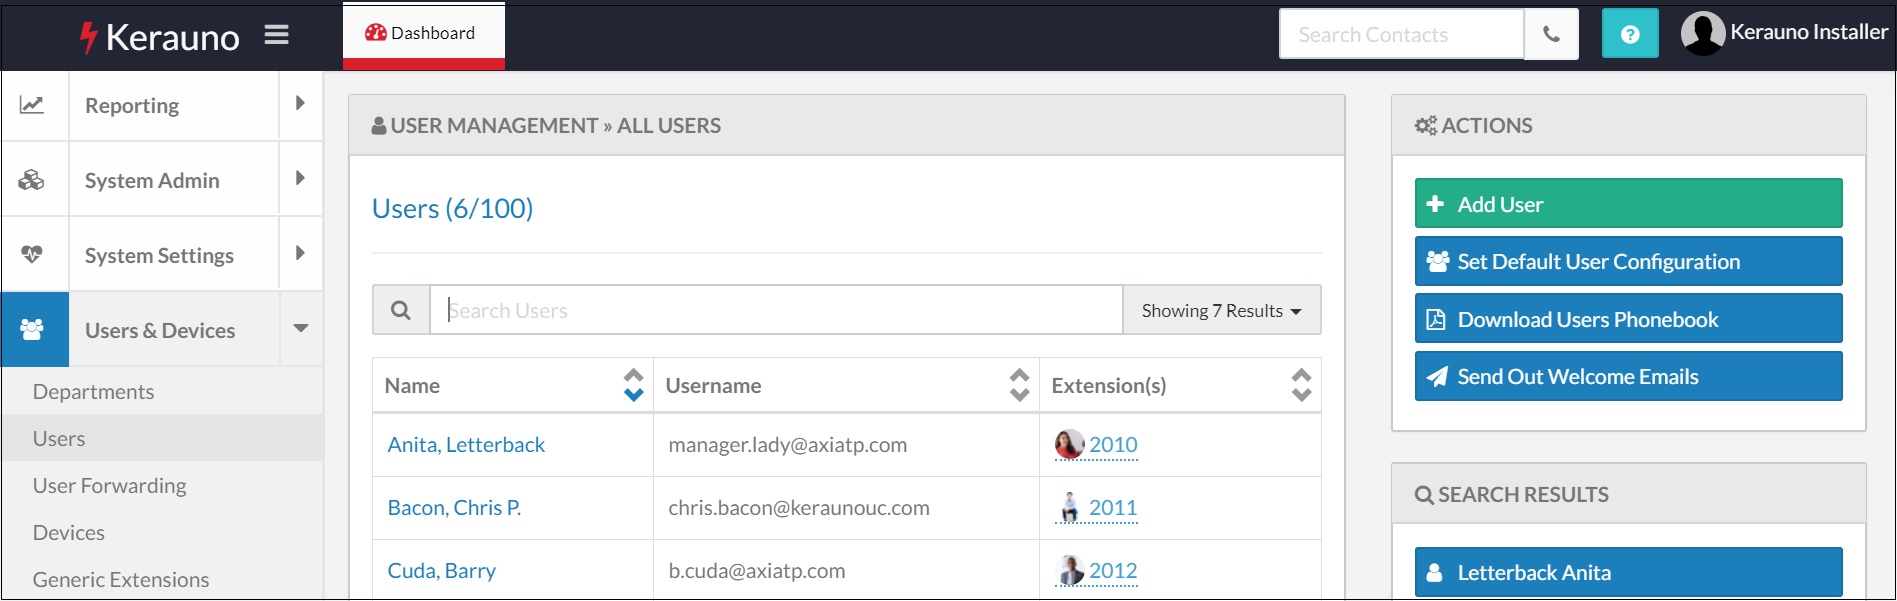
The main User Management screen contains a search bar and a table of all current users configured within Kerauno.
Organizing Users
Use the Search bar at the top of the menu to search for a specific user. User data can be sorted alphabetically by Name and Username, or numerically by Extension number. Sort icons are available for each column:
![]()
Add a User
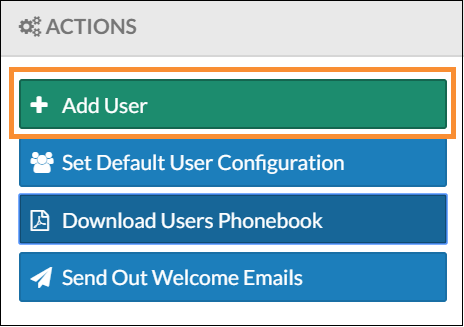
Click the green + Add User button on the far-right side of the screen to add a new user.
Note: When adding a new user, only the User Information and DID/Caller ID tabs are available to populate. Complete the fields and save the user in order to view all of the available user information tabs.
User Information Tab
The first tab that appears is User Information.

License Type
Select type from the available drop-down list. Available licenses are dependent on your license agreement with Kerauno.
Name and Username/Email
A company email address is generally used as the Username/Email. Adding hundreds of users to Kerauno can be problematic for users with similar names. Duplicate usernames (meaning everything before the @ sign) are not accepted.
Example: John Kenneth Smith and John Edward Smith cannot both have a JohnSmith@ username.
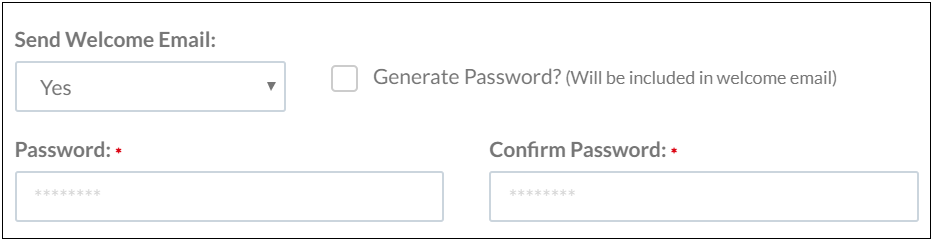
Send Welcome Email
A Welcome Email is used to communicate account information to a new user including their username, password, extension number(s), and voicemail PIN. Select No from the drop-down menu when a welcome email is not necessary. Welcome email content is customized here.
Generate Password
The Generate Password? checkbox is active by default and generates a password for the user to log into Kerauno. Upon login, the user is prompted to change the password.
To specify a password directly, uncheck the Generate Password? box and populate the password fields.
Note: The Welcome Email does not contain passwords set by an Administrator and must be communicated separately.
Phonebook
Click the Add to Company Phonebook? checkbox to make the user searchable.
Click the Hide Mobile in Phonebook? checkbox to prevent the user's mobile phone from appearing in the phonebook.
DID/CallerID Tab
Use this tab to set Direct Inward Dial (DID) and CallerID information.

A DID number is the number used to reach a user externally. This number rings to the user's primary extension. The drop-down list is populated by the numbers stored in the Number Manager. When a DID is set for a user, this number dials the person directly, ringing to the user’s primary extension.

Outbound Caller ID Number
The Outbound Caller ID field configures which ten-digit number is displayed to the receiving party when dialing outbound from this extension. This drop-down list is also populated by the Number Manager. When Trunk Default is selected from the drop-down, the Caller ID of the dial plan used is sent. When no Caller ID is set in the dial plan, the Caller ID set in System Admin > Trunks is displayed.
Emergency Caller ID Number
The Emergency Caller ID field allows administrators to choose which ten-digit number the system sends to emergency services when a user dials 911. When no emergency Caller ID is specified, the ten-digit number set in the Emergency Dial Plan is sent.
Note: It is imperative to have a dial tone/telecommunications provider associate an extension's Emergency Caller ID number to the physical address of the user. The address on the carrier's file for the Emergency Caller ID number set here is sent to a 911 answering center to ensure a timely response. When in doubt about the service address provided to a number, please contact the telephone carrier.
Once the User Information and DID/CallerID tabs are populated, click Create User to quickly add the user or click Create + Modify Advanced Settings to continue setting up the user's account through additional tabs.

Extensions Tab
The Extensions tab displays provides a list of all primary and additional extensions for a specific user.
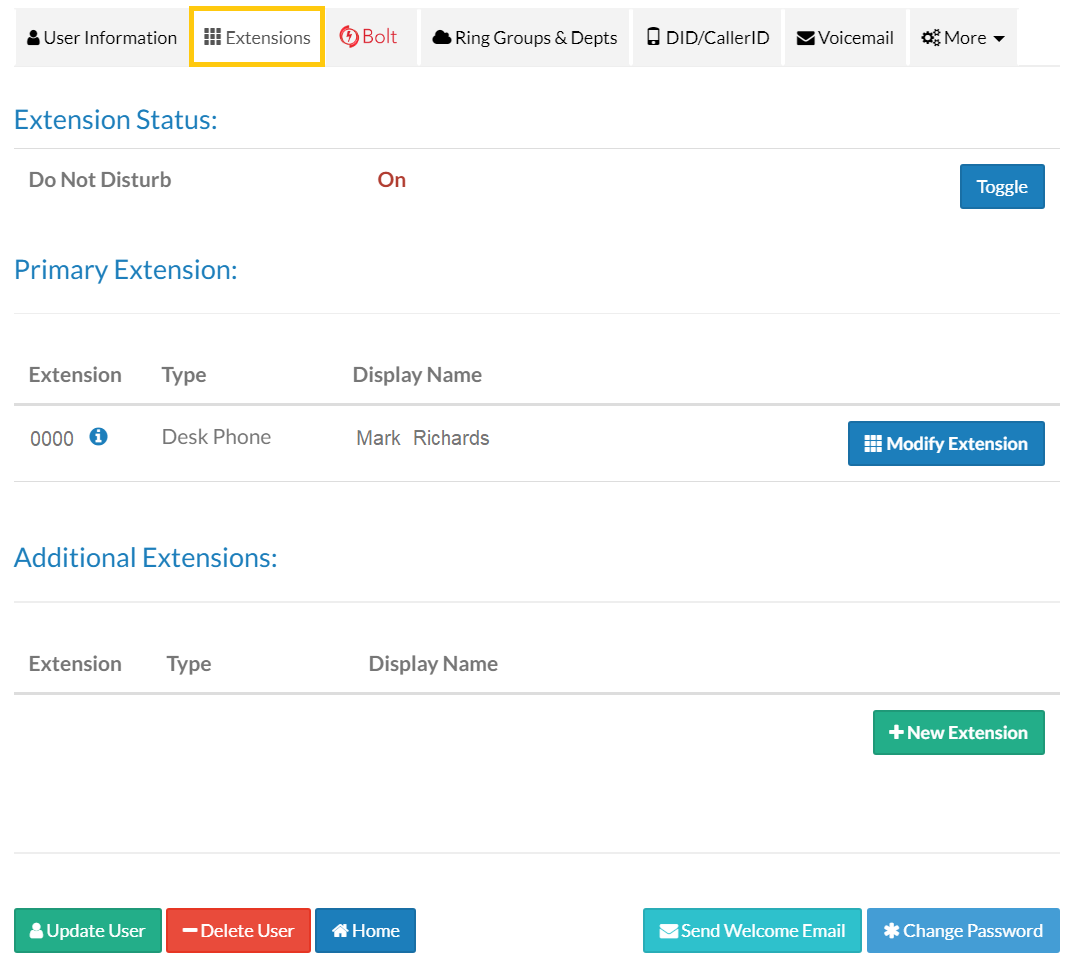
Extension Status
The Extension Status option allows administrators to enable Do Not Disturb (DND). To turn DND On/Off, click Toggle as shown above. When a user has DND active, no calls to the extension are received and incoming callers are sent straight to voicemail.

TROUBLESHOOTING TIP: When a user is not receiving calls and/or callers hear a Busy message, check the user's DND status.
Modify or Add New Extension
Each user may have up to five unique extensions (one primary and four additional) dependent upon licensing. To modify the settings for a specific extension, click the Modify Extension button. To create a new extension, click the + New Extension button at the bottom of the screen.

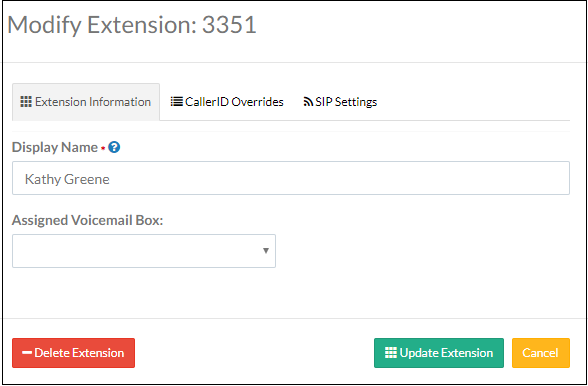
The Modify Extension pop-up includes options to Delete or Update Extension to save the extension information.
The Add Extension pop-up includes options to add an Extension number and an Add Extension button to save the new extension information.
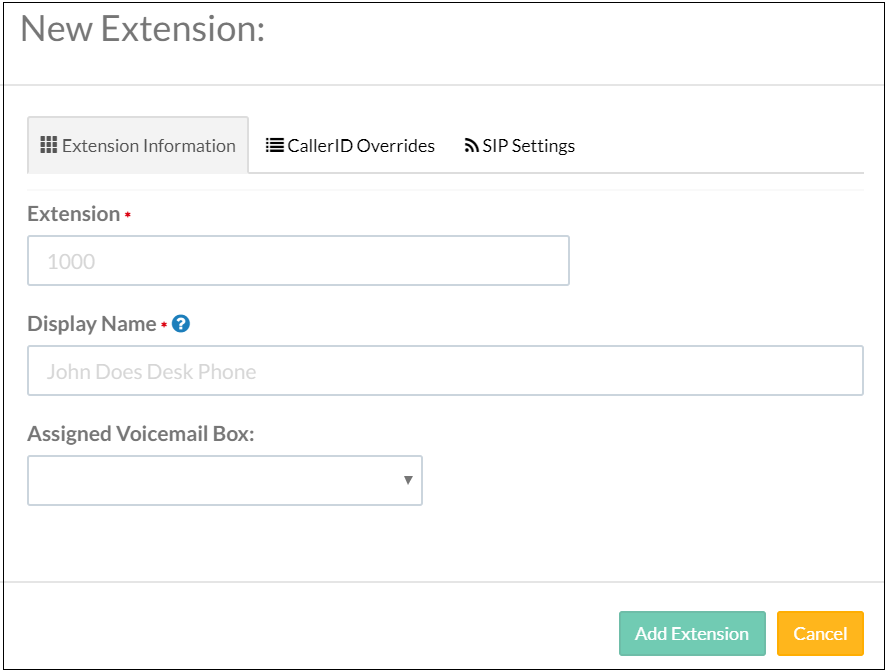
Populate Extension Information
Extension Information Tab
Extension: Enter new extension number (for new extensions only)
Display Name: This is the name displayed on the LCD screen (if applicable) on this particular handset. The value entered into the Display Name field is also the caller ID shown when dialing internally from extension to extension.
Assigned Voicemail Box: Select from drop-down box.
CallerID Overrides Tab
Outbound Callerid Number: The ten-digit number displayed to the receiving party when dialing outbound from this extension.
Emergency Callerid Number: The ten-digit number the system sends to emergency services when a user dials 911.
Outbound CallerID Name Override checkbox
SIP Settings Tab
DTMF Mode: Select from drop-down box.
NAT?: NAT allows for Network Address Translation to be added to the configuration of the extension settings and the physical phone. When an end user experiences problems with one-way audio or is receiving a Seize Failed or Reorder message, try enabling the NAT option.
Qualify: Yes/No drop-down box.
Qualify Frequency: Enter number.
Click either the Update Extension or Add Extension button to save changes.
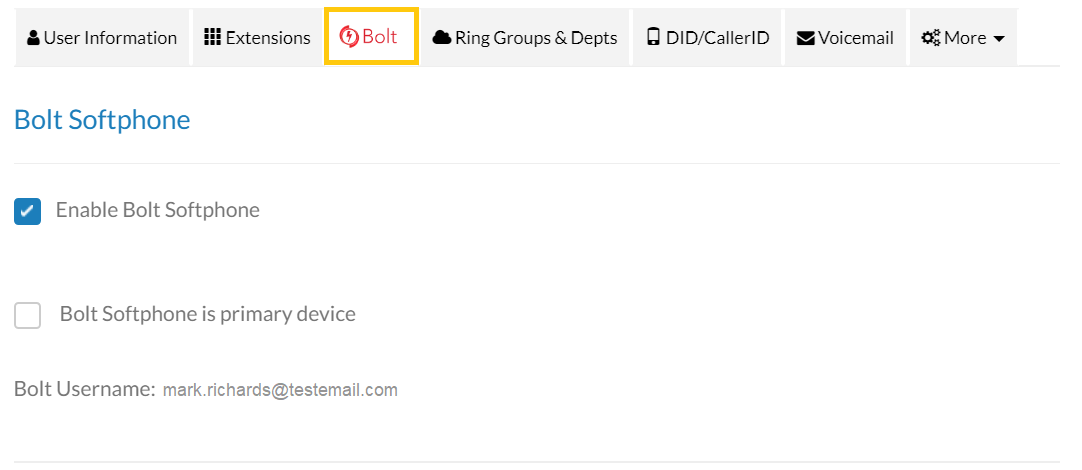
Bolt Tab
When the Enable Bolt Softphone checkbox is active, Bolt Softphone is primary device checkbox also displays.
If active, a Bolt Username is provided. The user is required to log into Kerauno before they can log into Bolt Softphone.
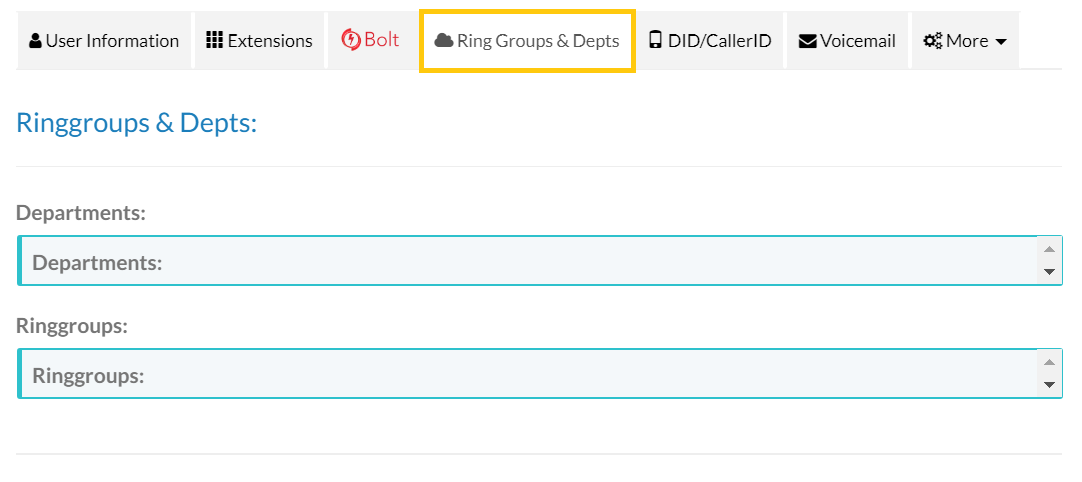
Ring Groups & Depts. Tab
Assign users to Departments and Ring Groups.
Voicemail Configuration Tab
The Voicemail IVR Locator is the only setting within the Users and Devices > Users menu that is not available for a basic user to modify.
The Voicemail IVR Locator function allows callers to dial into a voicemail box then transfer themselves out of the voicemail box to another number or extension.
Example: The president of a company may have a message that plays whenever his/her voicemail box is reached, e.g.: “To leave a message, please stay on the line. If you’d like to make an appointment with my executive assistant, press 1”. When the caller presses 1, they are transferred to the executive assistant’s extension.

After enabling the Voicemail IVR Locator using the slider at the top of the section, a menu is displayed allowing the administrator to configure the IVR Locator through the following options:
- Use when busy? Busy occurs when the user is either on the phone or status is set to DND (Do Not Disturb). When enabled, the IVR Locator is active when the Busy greeting is played.
- Use when unavailable? Unavailable occurs when the phone is not picked up and goes to voicemail. When enabled, the IVR Locator is active when the Unavailable greeting is played.
| NOTE: | When using the same greeting for both Busy and Unavailable voicemail, both the Use When Busy? and Use When Unavailable? boxes should be checked. |
The IVR locator allows the user to determine up to three (3) different locations which callers may be transferred to. Clicking inside of the light-blue box as shown in Figure 06 above allows administrators to assign a location to key presses for 0,1, or 2.
After clicking the light-blue box, a pop-up containing all call flow objects built into the phone system is displayed. This includes extensions, voicemails, ring groups, and external speed dials. Enter the name of the desired destination in the search bar at the top of the screen. When the correct destination has been found, click the blue Set Destination button on the right to assign the destination to the selected key press. Repeat this process for up to three key presses (Digits 0,1, and 2). When finished, click the Update User button to save changes to the IVR Locator. |
|

Find Me Tab
Establish forwarding options for a user's extension from this tab.

Recording Tab
Configure how Kerauno records both external and extension-to-extension calls on the Recording tab.
Note: Ring Group recording must be enabled in order for Ring Group calls to the desired extension to be recorded.

Setting these options to Yes records every single call originating from or received by this extension.
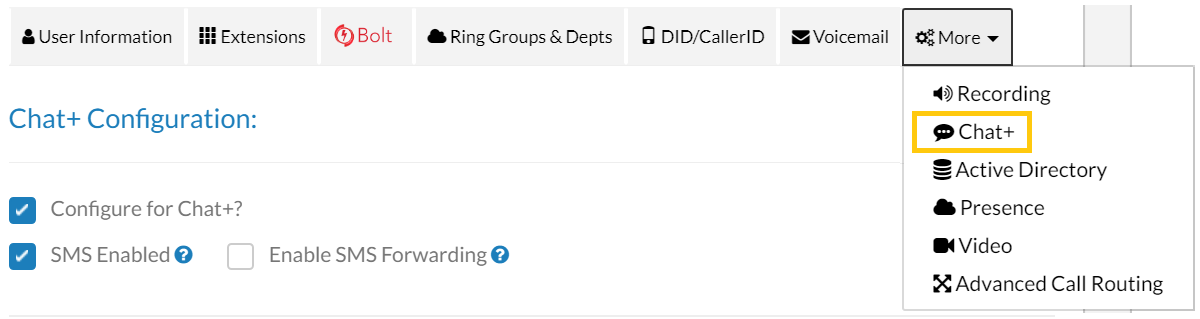
Chat+ Tab
Click the Enable Chat+ checkbox to enable Chat+. Click the SMS checkbox to allow the user to use SMS within Chat+.
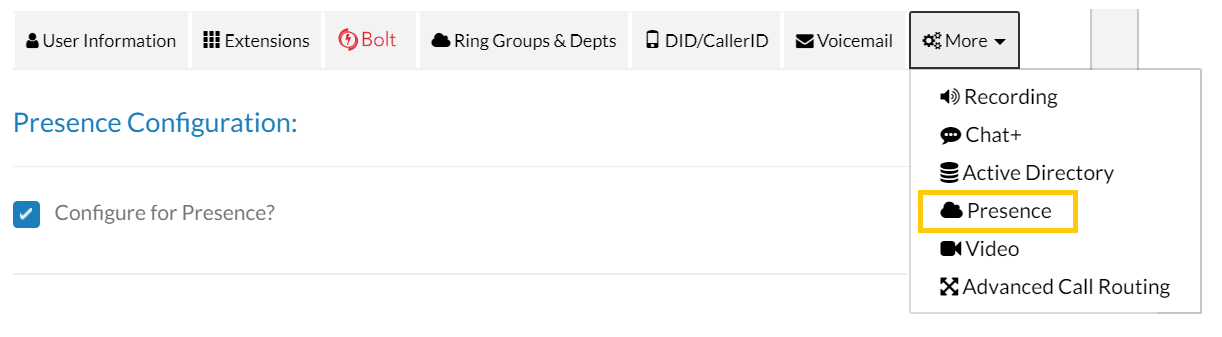
Presence Tab
Click the Configure for Presence? checkbox to enable Presence.
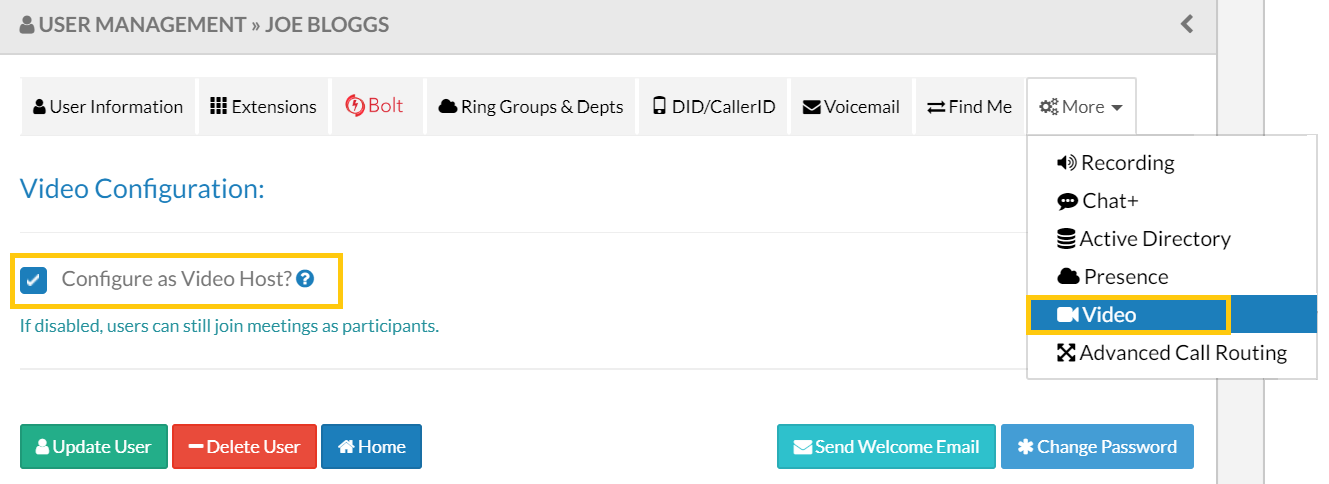
Video Tab
Click the checkbox for Configure as Video Host to allow the user to schedule and host videos meetings. Click Update User so save changes.
Apply Changes to finalize the edits.
Bulk Upload can also be used to add multiple hosts at once.
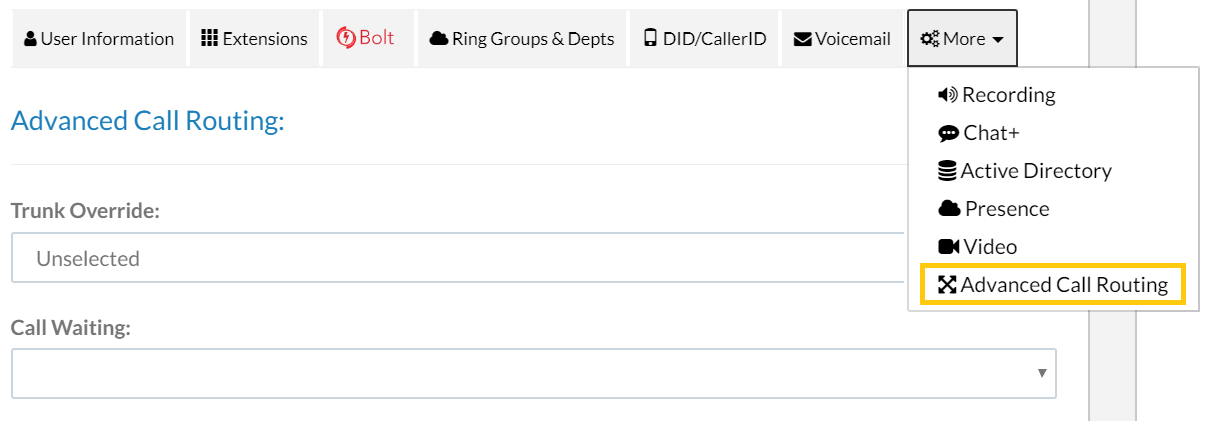
Advanced Call Routing Tab
Establish a Truik Override and Call Waiting settings as needed from this tab.
Deleting a User
To remove an employee from the system entirely, use the Delete User function. If a user appears in a workflow, they must be replaced by another associate.
Access User Voicemail
Administrator and Installer level users have the ability to access any voicemail box within Kerauno which is helpful when an employee is out for an extended time or leaves the company.
From the Users & Devices menu select Users. The User Management > All Users screen is displayed.
 Figure 02 User Management > All Users
Select the user whose email you need to access. On the User Management screen for the selected user, scroll to the bottom of the page and select the Voicemail button under Access Voicemail Box.
Figure 02 User Management > All Users
Select the user whose email you need to access. On the User Management screen for the selected user, scroll to the bottom of the page and select the Voicemail button under Access Voicemail Box.
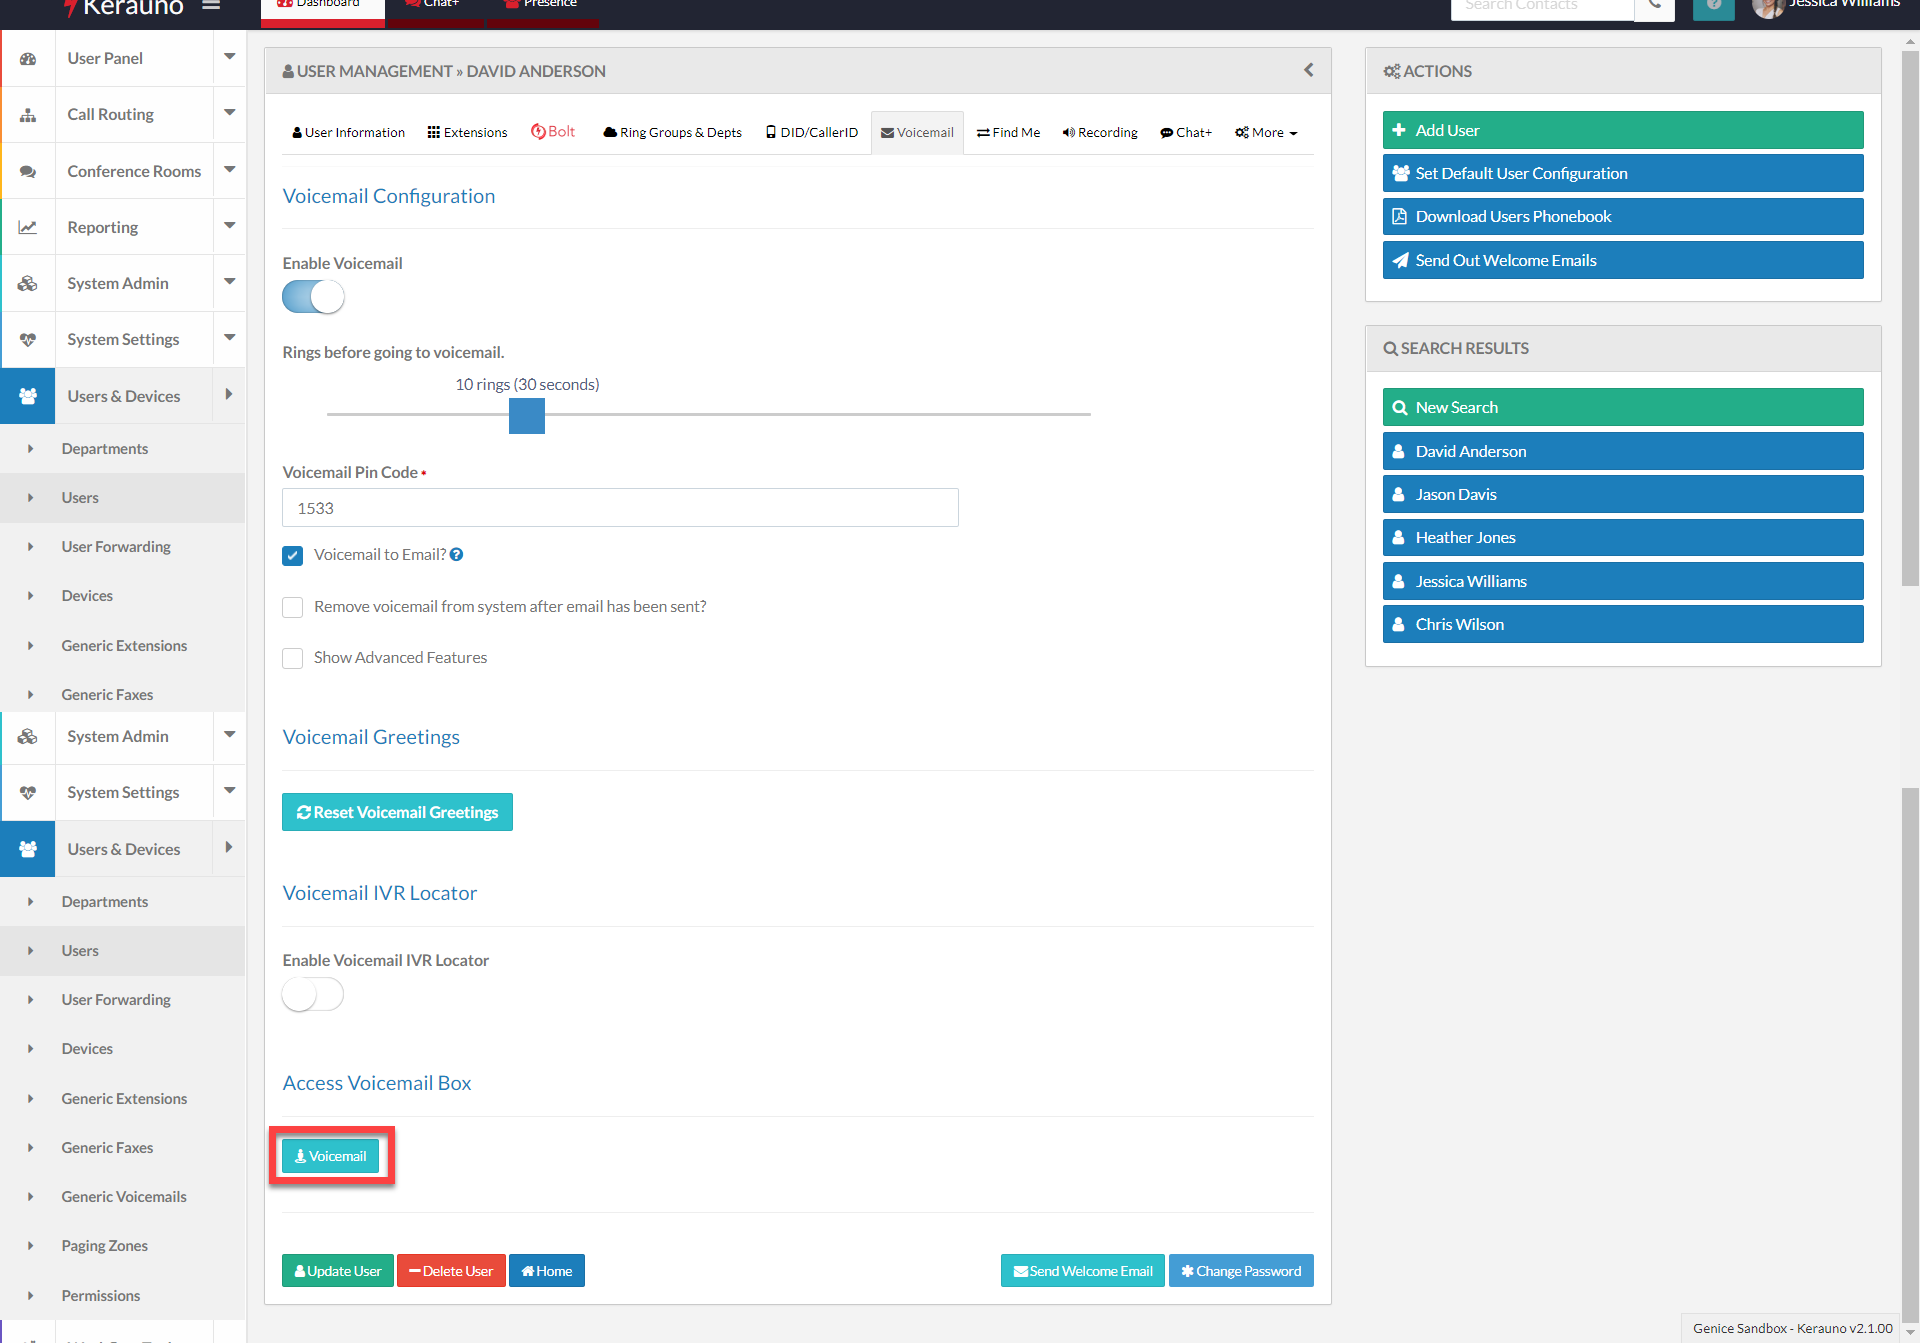 Figure 03 Access Voicemail Box
The User's Voicemail Box screen is displayed.
Figure 03 Access Voicemail Box
The User's Voicemail Box screen is displayed.
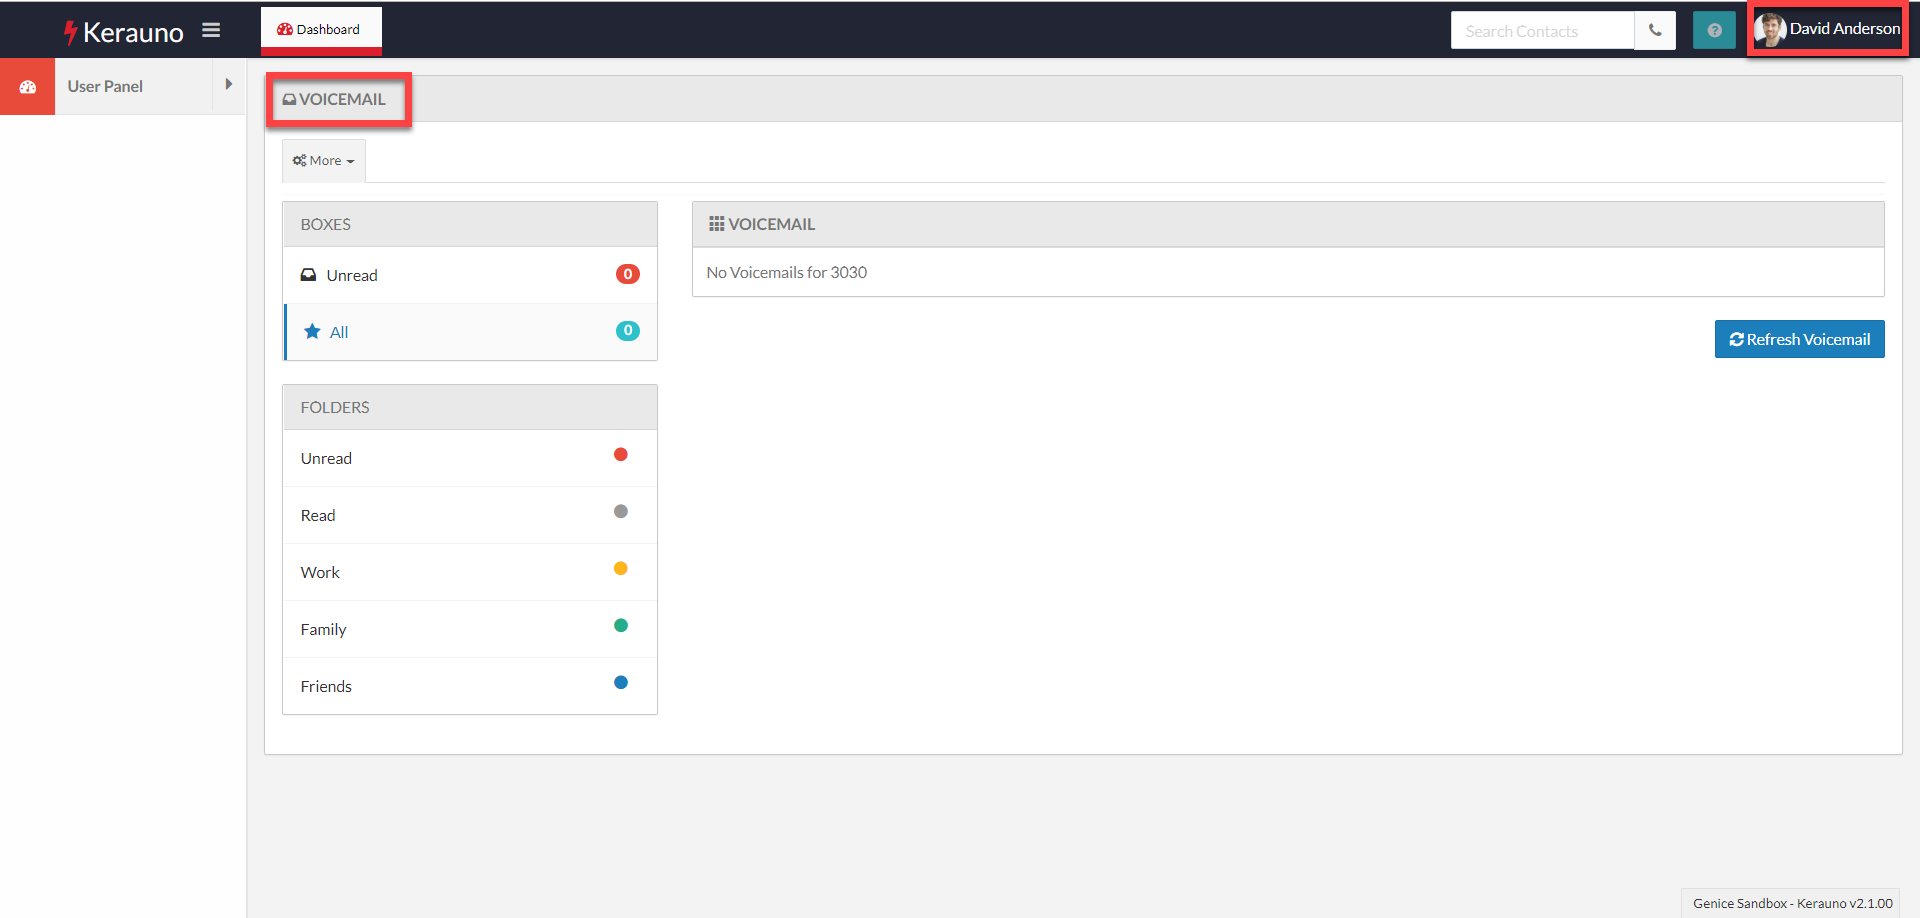 Figure 04 User Voicemail Box Screen
