Active Directory Server Requirements
- Active AD account
- Windows Server 2008 R2 or above
- Username/Email field in AD must be accurate, as Kerauno uses this field to match existing users with AD accounts.
AD Admin Configuration
The following steps establish the initial sync between the Kerauno server and an Active Directory server.
In Kerauno, navigate to Workflow Tools > Active Directory:
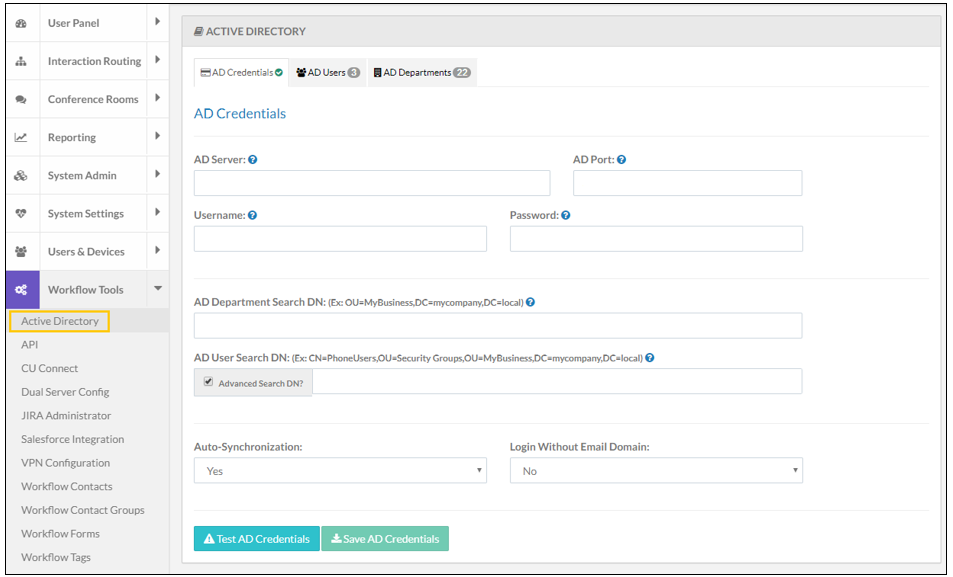
Populate the following fields on the AD Credentials tab:
AD Server – Enter Active Directory server IP address.
AD Port – Enter the port in which the Domain Controller is configured to use for Active Directory query purposes. The majority of AD installs will utilize Port 389. (If unsure, use 389.)
AD Username and Password – An account with read access to the specific DN to integrate Kerauno is required. From an access control standpoint, this can be a dedicated service account in AD for the purpose of syncing contacts with Kerauno. An existing account may also be used.
AD Department Search DN – Once the platform has authenticated into the AD server, it utilizes two different types of LDAP queries to determine where to find the appropriate contacts:
- Security Groups
- Organizational Units
AD User Search DN – Used by Kerauno to locate all users who should be available for sync into Kerauno. An All Users group or Phone System Users group in Active Directory are typically entered in this field. Alternatively, a new group can be created containing only the users to add to the system.
Advanced Search DN? – Click this checkbox to ensure that the search results are relevant to Kerauno.
Examples:
CN=Kerauno_PhoneUsers
OU= Groups
DC=goodcompany
DC=local
In this example, CN=Common Name, OU = Organization Units, and DC = Domain Component.
Note: AD Department Search DN points to any directory in which AD departments are located. When the AD system is managed in a departmental fashion (meaning each department of the organization has their own Active Directory group), enter a SearchDN to the top-level directory in which departments are located.
Auto-Synchronization – To automatically build users and departments from Active Directory into the Kerauno platform, select Yes. To use Active Directory for Single Sign On (SSO), select No.
Login Without Email Domain – Select Yes to allow users to log in with either their username or email address. Example: john.doe and john.doe@company.com.
Once populated, click Test AD Credentials to test the configuration setup. When successful, an alert displays confirming success.

Once authentication has been tested successfully, click Save AD Credentials.
Syncing Users
Once AD credentials are stored, add users. There are two ways to synchronize users:
- Workflow Tools > Active Directory > AD Users tab
- Users & Devices > Users
Workflow Tools > Active Directory > AD Users tab
Syncs all users with these fields populated in AD:
- Name (first/last in Kerauno)
- Email address/Username
- Extension (this field is required in order to create the user in Kerauno)
When syncing through the AD Users tab, any future edits to users must occur within AD directly. Changes will be reflected within one hour.
The main disadvantage of syncing users through the AD Users tab is that if users are un-synced for any reason, they can only be added again from within Active Directory or from the specific User page in Kerauno.
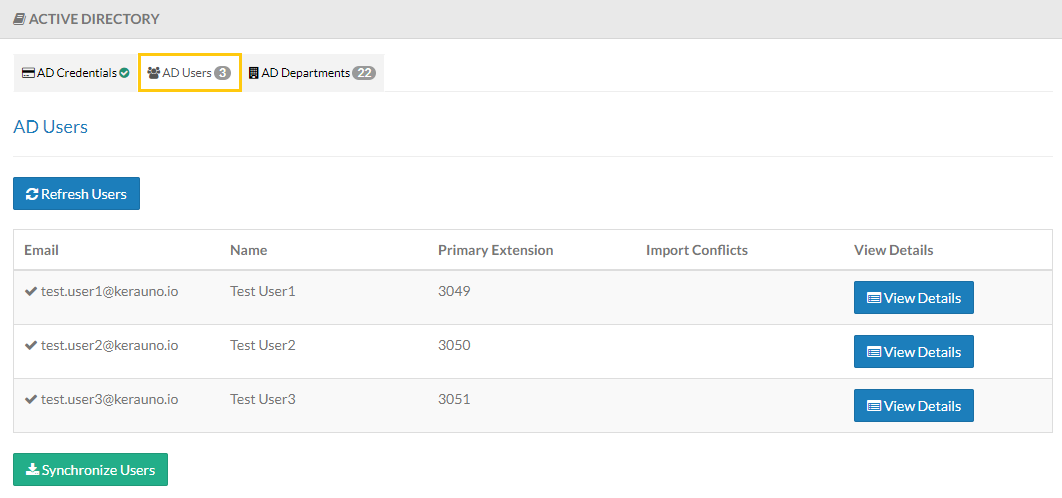
Access the Workflow Tools > Active Directory > AD Users tab. A list of recognized users displays. The Import Conflicts column provides details when a user cannot be added to AD.
Synced users reflect a check mark. A prohibited icon is displayed next to users that are not currently synced with AD:

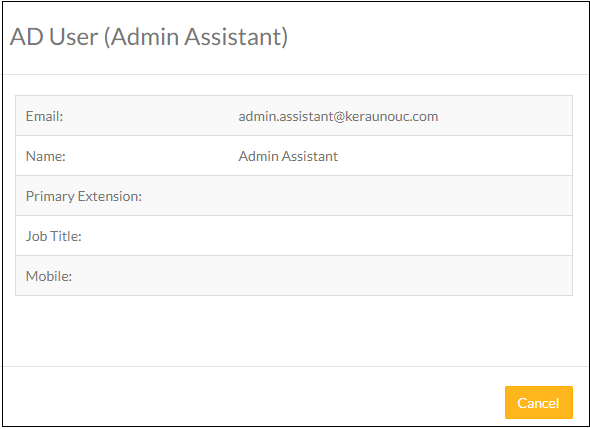
Click View Details to review the content synced for each user:
Click Synchronize Users to build all AD accounts for the users shown in Kerauno:
Users & Devices > Users > Active Directory tab
Syncing users from their individual Active Directory tab syncs only email/username with AD credentials.
Navigate to Users and Devices > Users. Select the user to add to AD and click the Active Directory tab:
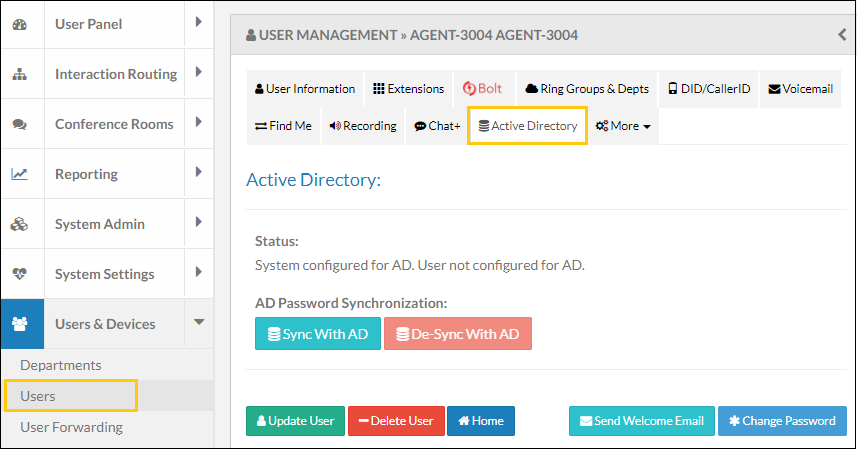
Click Sync with AD to sync the user with AD.
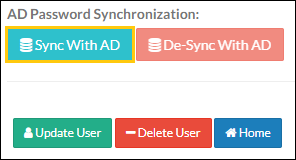
An alert displays confirming success after syncing is successful. Click Update User and apply changes. The changes are available immediately in Kerauno.
Syncing Departments
Manage Departments from the AD Departments tab in Kerauno. This is especially useful in high turn-over departments. Simply remove the user from AD and replace them with another employee. The changes are reflected in Kerauno immediately.
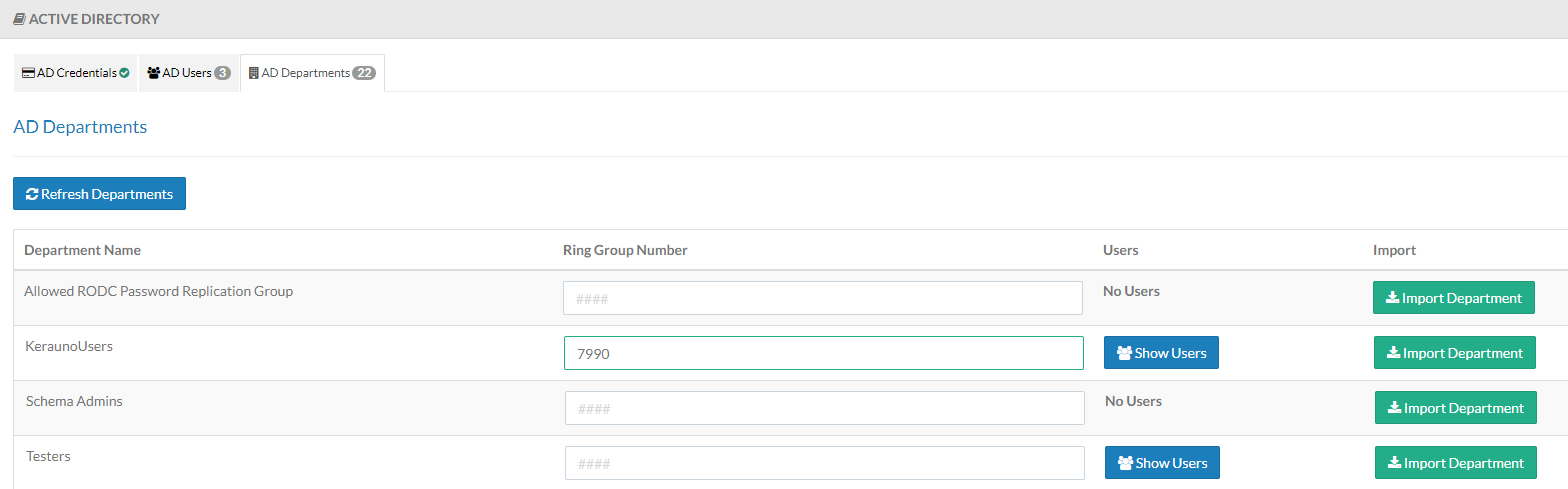
Navigate to Workflow Tools > Active Directory > AD Departments tab.
When adding a Department within AD, a Department and Ring Group are automatically created in Kerauno.
Assign a Ring Group Number to a Department and click Import Department:
Departments operate the same way Kerauno Departments do. Departments can be dialed, display in the Phonebook, and can be used in Call or SMS Flows.
Users added to the Department appear as static within the created Ring Group and cannot be removed. Access the Department in AD directly to make any edits.
Note: Each AD Department must be assigned a Ring Group number, as AD
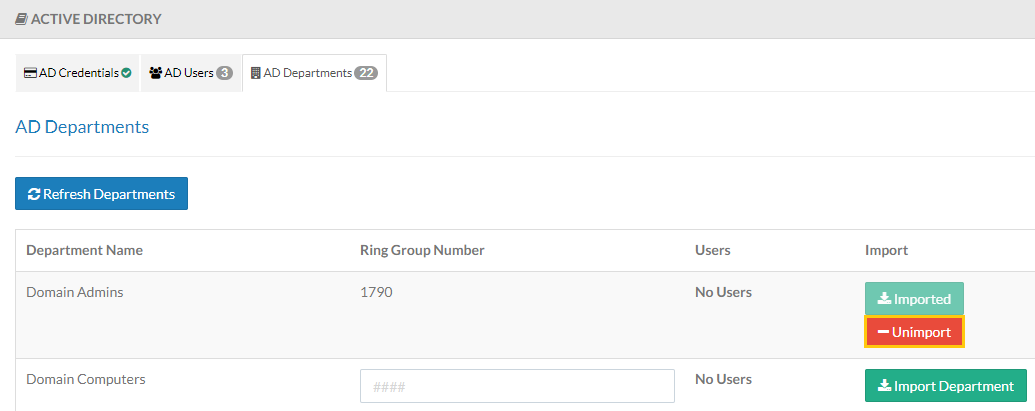
Use Unimport to remove a Ring Group. This removes both the Department and Ring Group from Kerauno.
De-Syncing Users
Users can be de-synced through various methods:
- Remove the User directly from Active Directory
- De-Sync button for Users & Devices > Users > AD Tab

- Unimport Ring Group from Workflow Tools > Active Directory > AD Departments tab

Troubleshooting
Error message received for Test AD Credentials.
Review the following parameters and try again:
- Check username and password
- Check network requirements
Error received while trying to sync a user:
The Import Conflicts column includes syncing error details. Correct the issue and try again.
